Once you make your entity selection for the webform, Quiddity will create the basic HTML code for you.
Use ‘Copy HTML’ to copy the HTML code for your website.
Paste this code on your website and get the webform integrated with Quiddity.
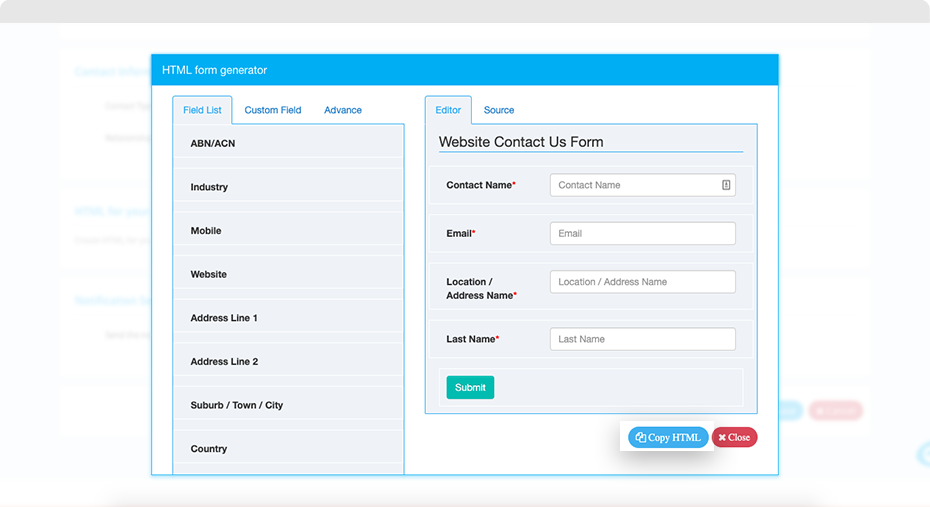
Add fields
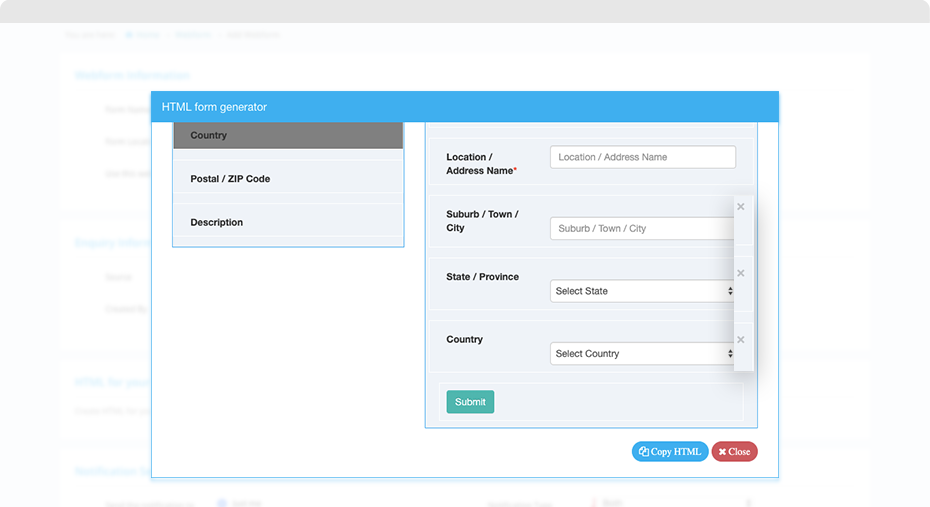
Drag and drop the fields that are you require in the form.
To insert custom fields in a webform, select ‘Custom Field’ tab and drag and drop the required custom field in the form.
To remove the inserted fields, click on the ‘X’ icon.
By default, some of the fields of the selected entity are already added when you build a new form. These are the mandatory Quiddity fields of that entity.
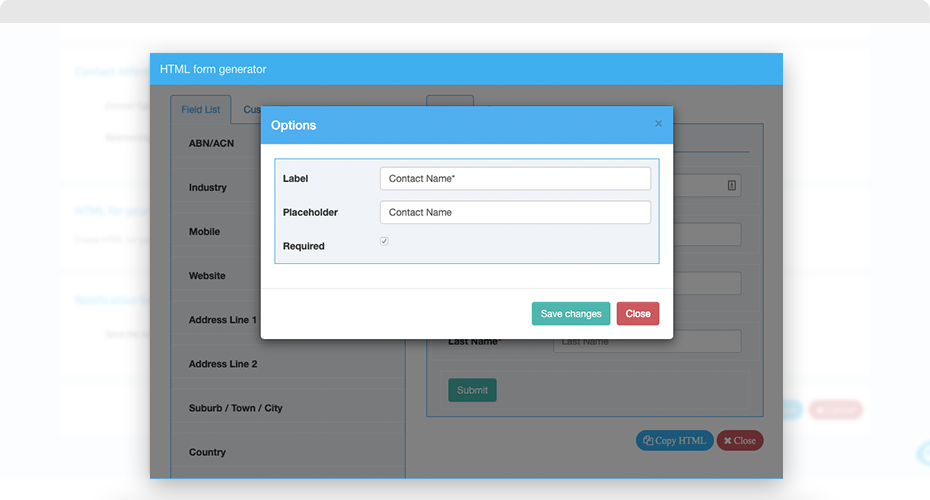
Mark field as mandatory
You can collect important information such as name, email address, mobile number, etc. from the visitors who fill out the webform by marking fields as mandatory.
To mark these fields as mandatory, select the field you want it mandatory. In the options, pop-up select required checkbox and click on ‘Save Changes’.
Change label and placeholder
You can change the field label and its placeholder value in the form.
To change, select the field. In the options pop-up update the value for ‘Label’ and ‘Placeholder’ and click on ‘Save Changes’.
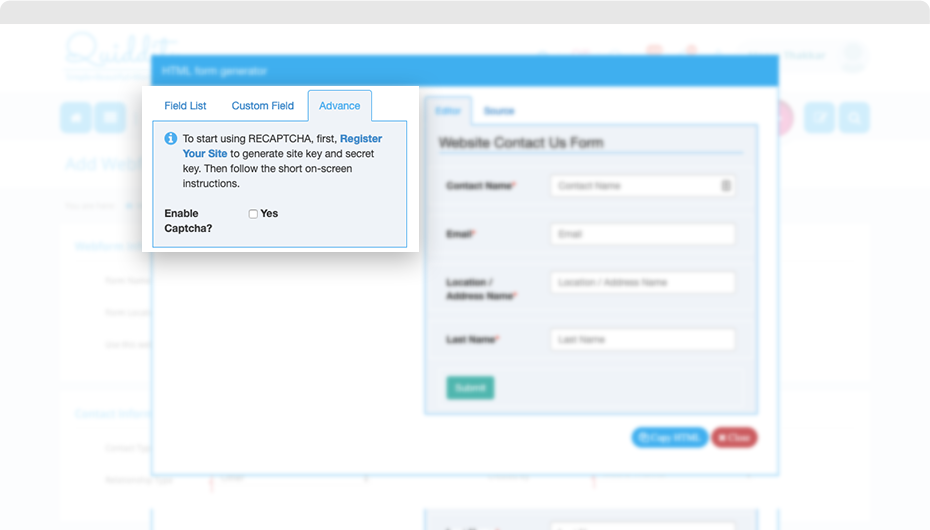
Insert Captcha
- Captcha is used for security in feedback forms, website registration, comments from visitors, etc. Add captcha for the Quiddity system to prevent unauthorized automated spamming programs from filling out the webform.
- To insert captcha, click on ‘Advance’ tab, select ‘yes’ for ‘enable captcha’ option.
- Insert the public and the private key associated to your captcha. To do this, register your website at the reCAPTCHA site and to generate site key and secret key.